One morning, as usual I was browsing the internet and I saw this picture on the Zara website! The denim patched jacket on their website grabbed my attention immediately and of course I wanted to purchase it, but it was out of stock for the moment! After that, I looked at my wardrobe and I realized that in fact, I already have a ton of denim jackets. So, I thought to myself, “why don’t I just use my own jacket into the Zara one that I wanted and incorporate my own taste and style into it?”

Denim knows how to make it self onto the runway and is definitely always a trend fabric for every season. Recently, denim jackets are seen more on street style bloggers and also by those who are trendsetting designers such as, Philip Lim and Marc Jacobs, who are the ones that brought denim pieces onto the runway. They made the classic piece more fun by adding retro patches.
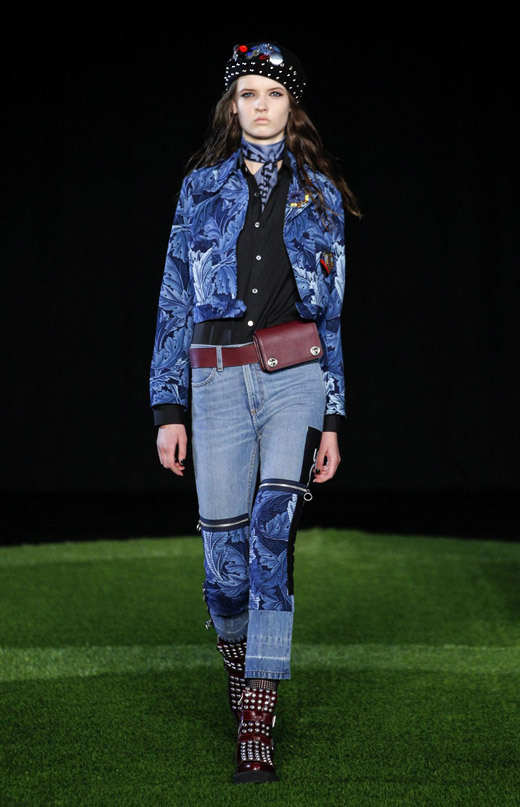
Marc by Marc Jacob 2015 F/W Collection
Now, let’s get ready to tackle your denim jacket.
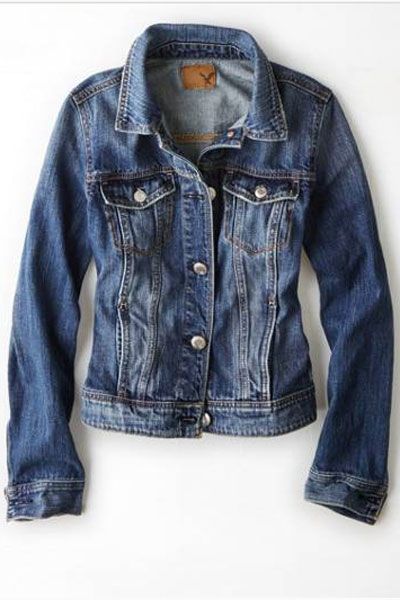
Step 1: Prepare the perfect denim jacket
You can buy one off the rack, but personally I suggest using an old jacket you already have in your closet to save money and the environment, plus the older the jacket looks, the cooler the effect is. Wash it lightly so that the patches can stand out more on your denim jacket and will stick to your jacket better.
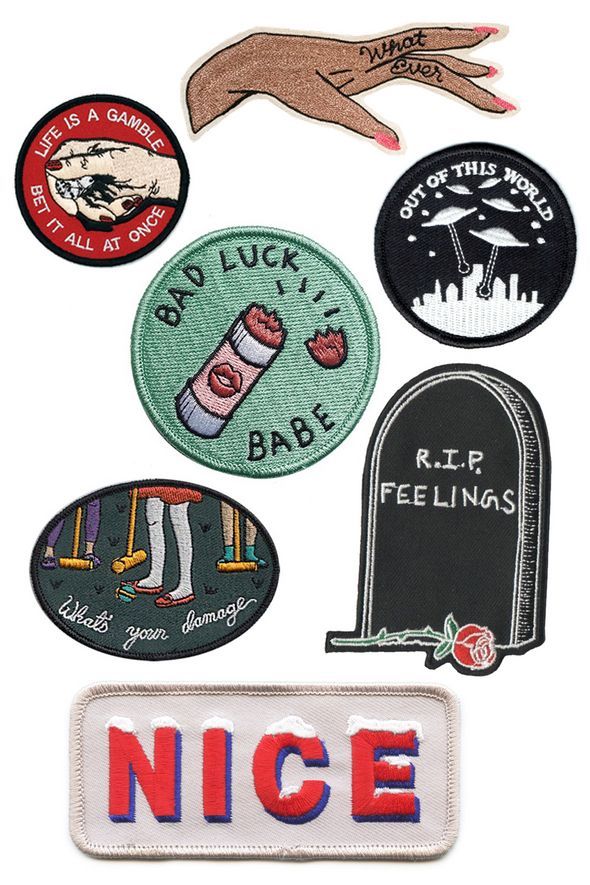
Step 2 : Select a theme and start to hunt patches
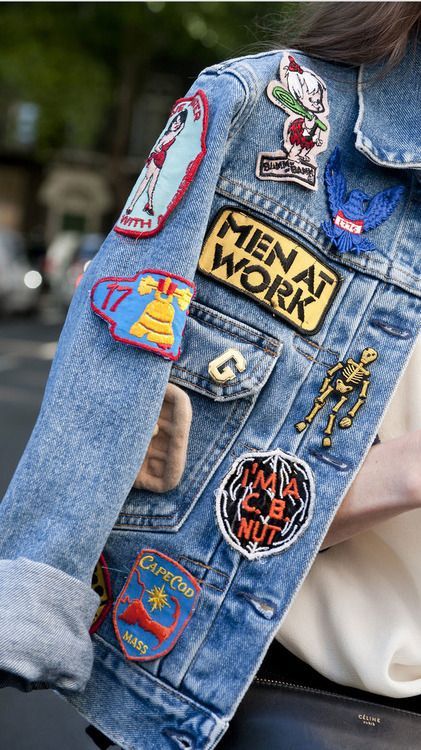
It is better to choose a theme (although it can be completely random if you want) for your garment so the jacket can show your own personality and your style through the patches. You can choose a band you like, a cartoon you watch, or just colors you wear a lot or like. You can go to websites such as, Etsy or Amazon to buy either vintage looking, homemade, or embroidered patches. For myself, I like to go flea market and see if they are selling those vintage patches, it’s also just a great place to go take a look for fun!
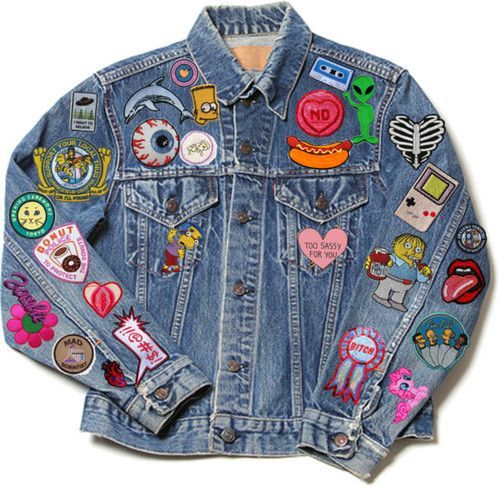
Step 3: Begin the placement process
Next, lay down your jacket and start playing around with the back, sleeve, front and collar to decide on where the patches would look best when you’re wearing the jacket. Take a photo of different options and choose which one you like most.
Step 4: Attach-sew-iron the patches.
Now prepare a thick needle, strong thread and scissors. Start to sew from the inside of jacket so that you can hide the thread knot and doesn’t show in the front. I suggest that you use colorful thread to sew it on, this gives it a more polished look and you won’t have to see the black and white thread on your jacket. Next, take out your ironing board and parchment paper. You can start by placing your patches and cover them with parchment paper, to protect your patches. Turn to the highest heat and run your iron across the paper. Be careful, it’s hot!
Step 5: Wear it and enjoy your masterpiece
It’s really fun and make your own piece and you can even make your jacket with some friends.
This story was produced in LA/FSH 218 Blogging Content Creation & Promotion course.